MP6PLUS

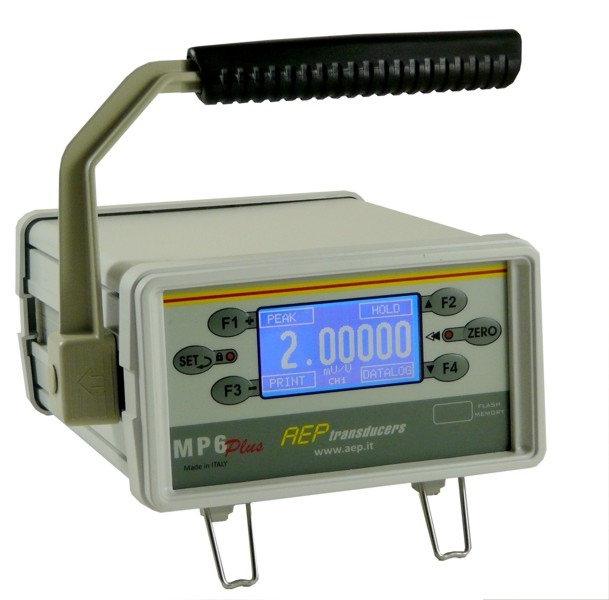
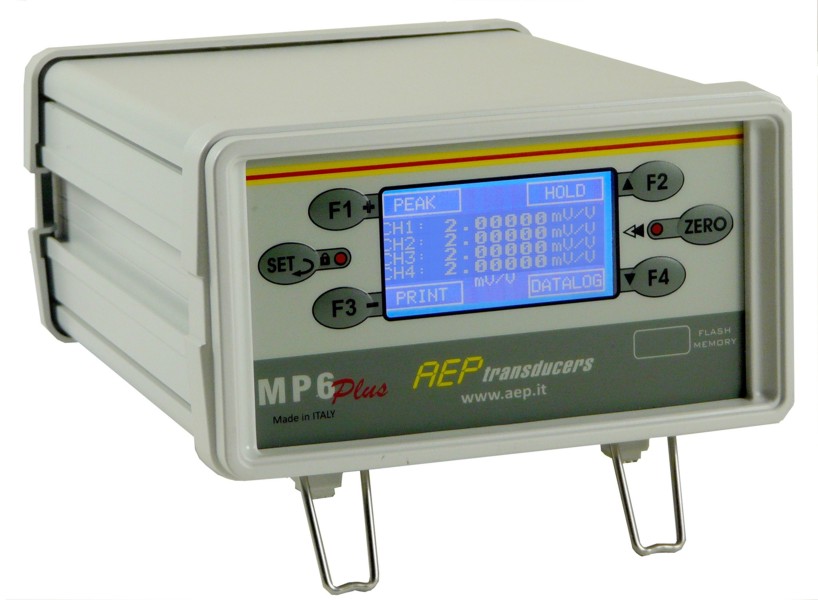
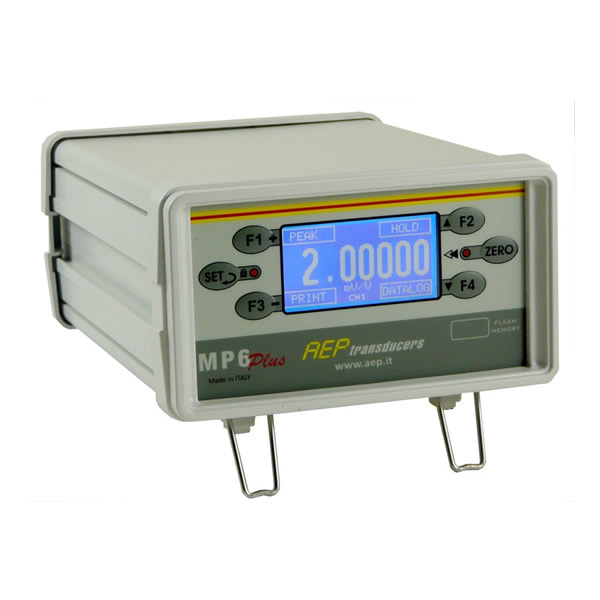
“THE EVOLUTION OF THE SPECIES” : after more than 20 years of service in the various versions the new MP6Plus is born. MP6Plus is a Professional Digital Laboratory Indicator with 123, or 4 inputs, suitable for receiving signals from strain gauge sensors, transmitters with voltage or current output and PT100. Particularly suitable for both static and dynamic applications, for calibration and verification in metrology laboratories or industrial environments where it is necessary to make measurements of weight, force, pressure, torque, displacement and temperature in a synchronized manner. To FIT EVERY APPLICATION the instrument can be configured and customized: the function keys F1, F2, F3 and F4 can be programmed for the function of interest such as: PEAK, HOLD, RELEASE, TX DATA DATALOG, DISCHARGE, ZOOM. MP6Plus allows you to enable and disable each channel and using the ZOOM function it s possible to display only the channel of interest in full screen. The instrument works with a resolution of ±100.000 divisions and an accuracy better than 0.005% due to an internal 24-bit Sigma-Delta AD converter and a measurement control that is carried out for switching at a frequency equal to that of sampling: this system provides a better suppression of interference due to offset drift and to the connecting cables

  • Categories: Instruments
  • Tags:
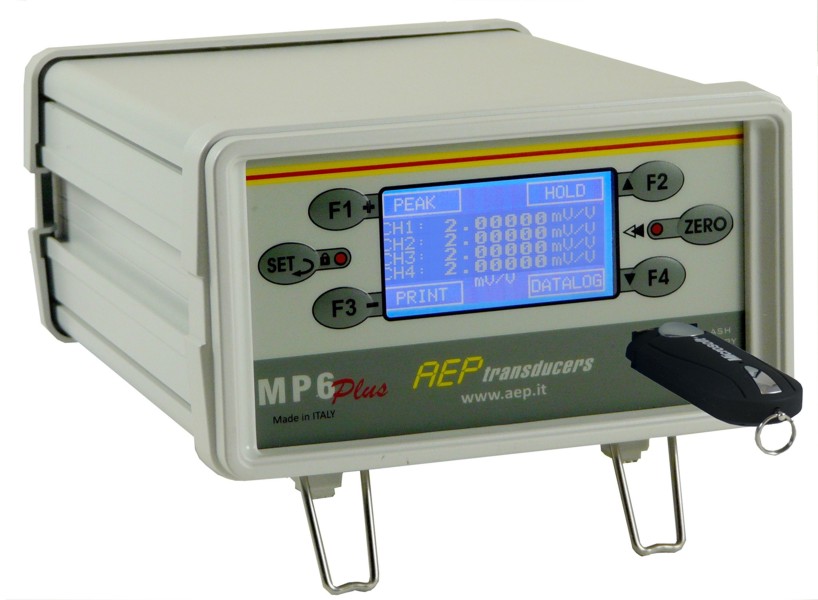
Other features and functions of importance are: Graphical, large and high resolution LCD display with backlit. Automatic UNIT CONVERSIONS in many specific units for each type of transducers. Function MULTIMETER which displays the signal of the sensor directly in mV/V, V or mA. User selectable language : ITALIAN or ENGLISH. Function ZERO and AUTOZERO to reset automatically the measure if the measurement is below a set threshold. Function of HOLD, PEAK, programmable FILTER. Function of DISCHARGE in order to measure the amount of product discharged for example from a tank. Function TOTAL to perform the sum of the channels. Function KEY LOCK to protect the instrument settings by unauthorized persons. Function CLOCK-CALENDAR (Option) with date and time. 24 columns PRINTER (option) connected to the serial port through which it is possible to print the measuring points with the date and time and the data of the company that carried out the survey.
For each input channel, you can calibrate the signal coming from the sensor both in the POSITIVE RANGE and in the NEGATIVE RANGE (Example in tension and compression) through 3 different modes: Calibration with Full Scale: characterization through the programming of the transducer full scale and sensitivity in both the positive and negative range. Calibration for POINTS: linearity correction by programming 5 known points in both the positive and negative range. Known Weight: practice characterization (in the field) by imposing a known weight, pressure, torque to the sensor and calibrating the transducer output to this reference value.
To increase security the instrument has the ability to perform a BACKUP of all calibrations data so that you can recall them in case of accidental tampering. As OPTIONS the instrument can be equipped with:
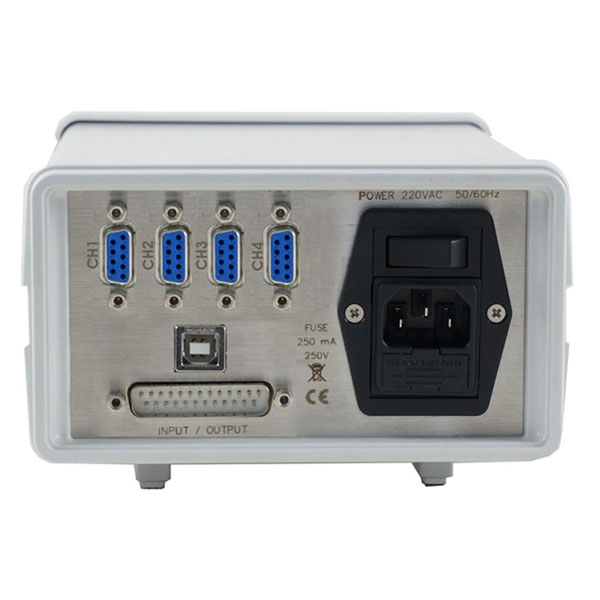
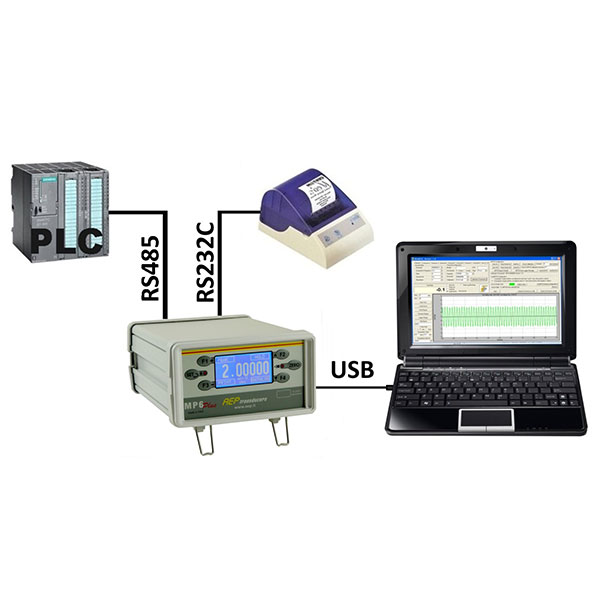
Additional input channels CH2, CH3 and CH4 with a synchronization system that allows to acquire at the same instant the measurement of all channels. One, two, three or four Analog Outputs programmable as voltage (± 10V, 0/5V, 0/10V, ±5V) or current (4-20mA, 0-20mA, 0-24mA) that can be associated to different channels or to the TOTAL (sum of two or more channels). A serial RS232 line to directly connect the device to a PC, PLC or a serial PRINTER. 4 programmable DIGITAL INPUTS 24Vdc. A serial RS485 line with protocol MODBUS RTU normally used to connect multiple instruments in a same network to a PLC. WIRELESS transmission designed to transmit measurements to other devices by radio at a distance up to 100m. A powerful DATALOGGER with non-volatile memory, which allows to store data at the maximum acquisition speed, synchronize recordings with an internal clock-calendar and eventually export data to a file using an USB stick in .csv file format that can be transferred directly to Microsoft Excel.

ACCESSORIES

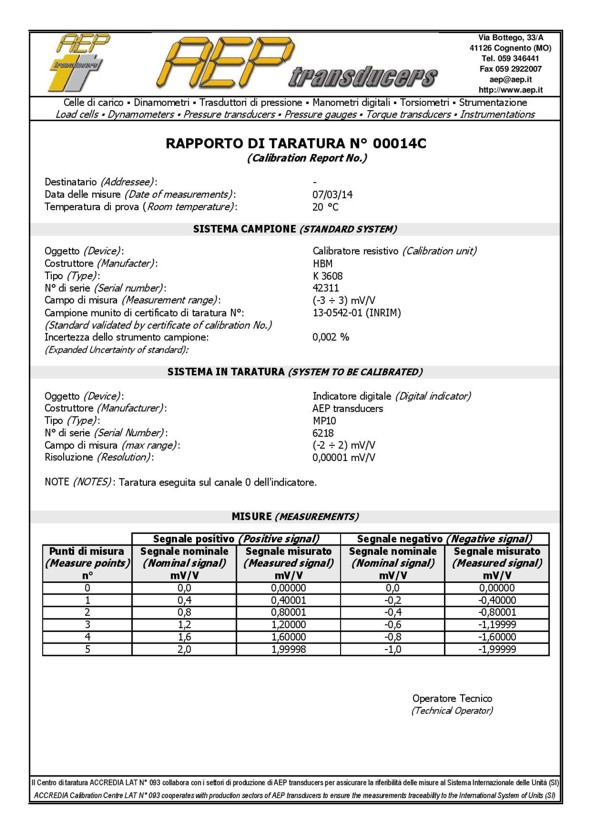
Calibratio Report in mV/V

ACCREDIA certificate MP6 + sensor

Additional channels The basic instrument has one input channel, but optionally can be expanded to 2, 3 or 4 channels.

Handle Possibility of mounting an ergonomic handle for easy transport.

Flash MEMORY connector (on the front panel) allows you to copy in a very fast way data logger cycle on a PC. It is possible to create file in .bin format (for max speed and size) or as .CSV file format for a direct export of data on spreadsheet like Microsoft Excel

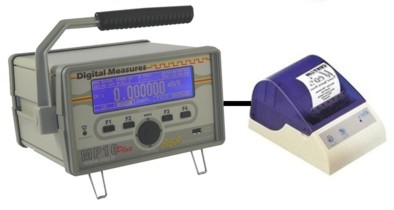
External 24 column Printer. It is possible to print a report header (as 3 rows of free text) and measures pressing or the PRINT Key on the front panel or using the REMOTE CONTROL (option) You can print both on paper and on adhesive labels.

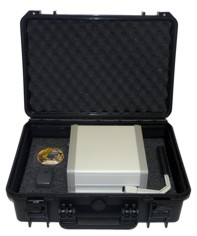
Case for transport

MPsupervisor

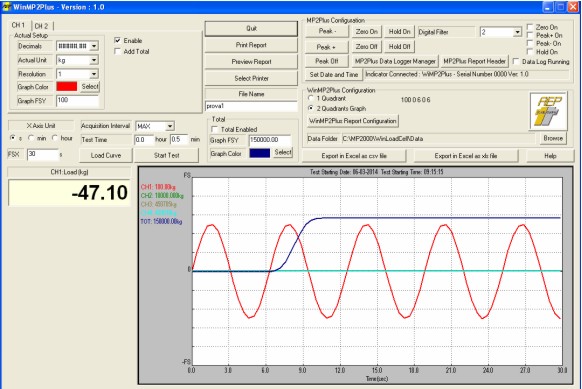
A dedicated program that allows an immediate interfacing through the USB port with the MP2Plus and allows you to view graphs, export data to Microsoft Excel directly from the PC and set all configuration parameters. The program also allows you to download a Data Logger carried out using the internal memory or the USB Flash Memory and display the respective curves of acquisition.

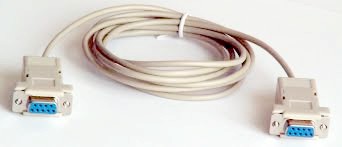
Serial cable RS232 USB cable

MP6PLUS Serial

Download

Data sheet MP6plus
Data sheet MPsupervisor
USB Driver MP6plus
EAC Certificate

You may also like…

  • C2S

    BUY NOW

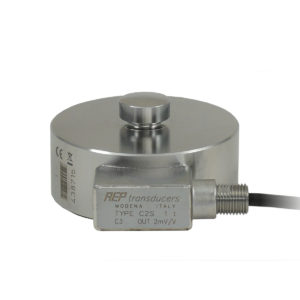
    C2S

    Load cell for the measurement of static and dynamic loads in COMPRESSION
    Nominal Load from 100 kg to 200 tons
    Class (OIML R60) C1, C2 and C3
    Combined Error: 0,023%
    Output: 2mV/V
    On request

    • Categories: Load cells
    • Tags:
  • TP1

    BUY NOW

    TP1

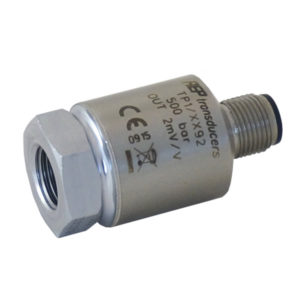
    Pressure transducers for RELATIVE and ABSOLUTE measures Nominal pressures from 10 bar to 700 bar Linearity and hysteresis 0,20% TP1 standard output 2mV/V TP1A amplified ouput 0,5-5,5 Volt

    • Categories: Pressure transducers
    • Tags:
  • LDT

    BUY NOW

    LDT

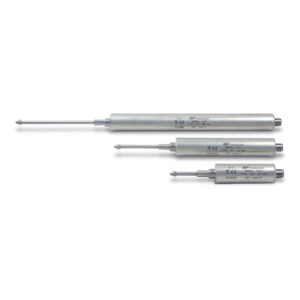
    Displacement transducers for linear measurement
    Nominal displacement from 5 mm to 200 mm
    Linearity and Hysteresis 0,10%
    Standar output 2mV/V

    LOW COST
     and EASY APPLITATIONS

    • Categories: Displacement transducers
    • Tags: