PRESKAL

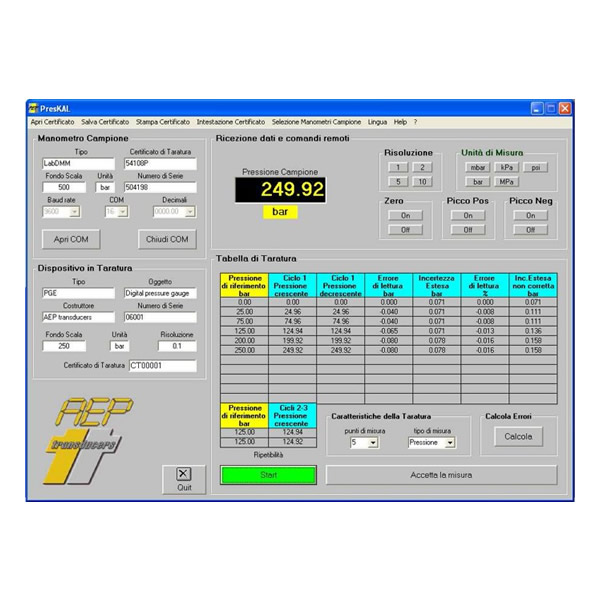
The Software is designed to facilitate calibration and metrological confirmation of gauges that measure in both positive and vacuum in accordance with International Standard EN ISO 9001. The calibration procedure and calculations are made in accordance with the requirements of the “Guide for the calibration of pressure gauges” EA-10/17

  • Categories: Software applications
  • Tags:

The software assists the operator in all phases of the calibration. After the calibration test the software calculates: Error reading in percentage of full scale. Expanded uncertainty U in units of pressure. Expanded uncertainty U’ in units of pressure. All certificates are then printed and stored in a database that keeps the historian of calibrations performed.

ACCESSORIES

See instrumentation and connection cables

Download

Data sheet PresKAL

You may also like…

  • STAR

    BUY NOW

    STAR

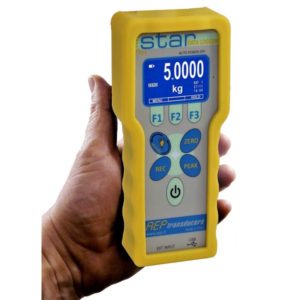
    Professional ergonomic indicator extremely versatile and easy to be used for measurement of FORCE, WEIGHT, PRESSURE (gas), VACUUM, TORQUE and DISPLACEMENT. It is possible to integrate inside a force sensor (up to max. 5kN) or a pressure sensor (relative, absolute or differential up to max. 5bar) while from the external input it is possible to connect strain gauges sensors with output in mV/V such as: load cells, force transducers, pressure transducers, torque and displacement transducers. AUTOMATIC recognition of FORCE, WEIGHT, VACUUM, PRESSURE, TORQUE and DISPLACEMENT external transducers (max. 7) LCD graph DISPLAY with 3 levels of backlighting to adapt itself to any conditions of external brightness and with the possibility of rotating the  visualization of 180°. DIGITAL CALIBRATIONS protected by Password with full scale programming or with the “LINEARIZATION by points” of transducers, for every transducer it is possible to separately calibrate both the positive and the negative field. (Example: Tension and Compression) DATALOGGER allows to memorize measurements and to keep them in the internal memory even in case of instrument switching off. (max. 130.000 recordings)

    • Categories: Instruments
    • Tags:
  • LABDMM2

    BUY NOW

    LABDMM2

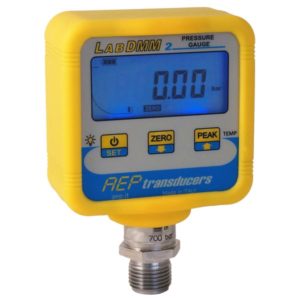
    RELATIVE pressures from 100 mbar to 3000 bar
    ABSOLUTE pressures from 1 bar to 10 bar
    Relative VACUUM measure -1 bar

    linearity and hysteresis 0.05 %

    HIGH ACCURACY

    High mechanical strength
    Suitable for dynamic and static applications

    Shock resistant silicone COVER

    • Categories: Pressure gauges
    • Tags:
  • JET

    BUY NOW

    JET

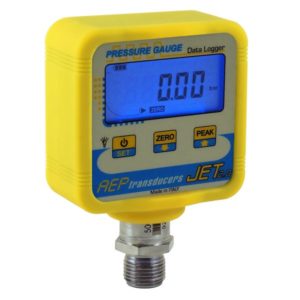
    RELATIVE pressures from 100 mbar to 3000 bar ABSOLUTE pressures from 1 bar to 10 bar Relative VACUUM measure -1 bar TEMPERATURE measures from 0 to 50 °C linearity and hysteresis 0.20% STANDARD version linearity and hysteresis 0.10% high accuracy Backlit display DATA LOGGER programmable to record the trend of PRESSURE and

    TEMPERATURE over time. Replaces chart recorders.

    WIRELESS transmission Max. distance 100 m in free area

    • Categories: Pressure gauges
    • Tags:
  • MP6PLUS

    BUY NOW

    MP6PLUS

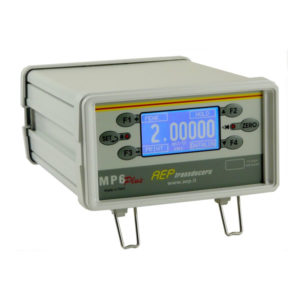
    “THE EVOLUTION OF THE SPECIES” : after more than 20 years of service in the various versions the new MP6Plus is born. MP6Plus is a Professional Digital Laboratory Indicator with 123, or 4 inputs, suitable for receiving signals from strain gauge sensors, transmitters with voltage or current output and PT100. Particularly suitable for both static and dynamic applications, for calibration and verification in metrology laboratories or industrial environments where it is necessary to make measurements of weight, force, pressure, torque, displacement and temperature in a synchronized manner. To FIT EVERY APPLICATION the instrument can be configured and customized: the function keys F1, F2, F3 and F4 can be programmed for the function of interest such as: PEAK, HOLD, RELEASE, TX DATA DATALOG, DISCHARGE, ZOOM. MP6Plus allows you to enable and disable each channel and using the ZOOM function it s possible to display only the channel of interest in full screen. The instrument works with a resolution of ±100.000 divisions and an accuracy better than 0.005% due to an internal 24-bit Sigma-Delta AD converter and a measurement control that is carried out for switching at a frequency equal to that of sampling: this system provides a better suppression of interference due to offset drift and to the connecting cables

    • Categories: Instruments
    • Tags: