TRX

STATRIC torque transducers for the measurement in clockwise and anticlockwise direction FLANGE process coupling Nominal torque from 50 N•m to 5000 N•m Class (EURAMET cg-14) 0.05 and 0.1 Linearity and Hysteresis 0,03% Output: 1mV/V HIGH ACCURACY

  • Categories: Torque transducers
  • Tags:

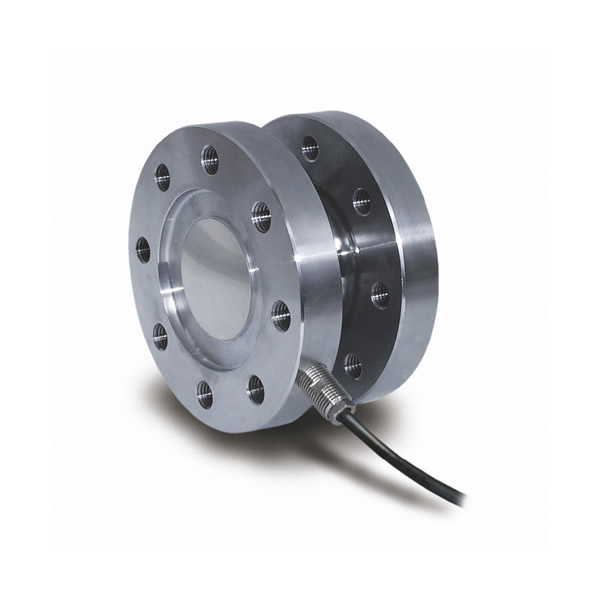
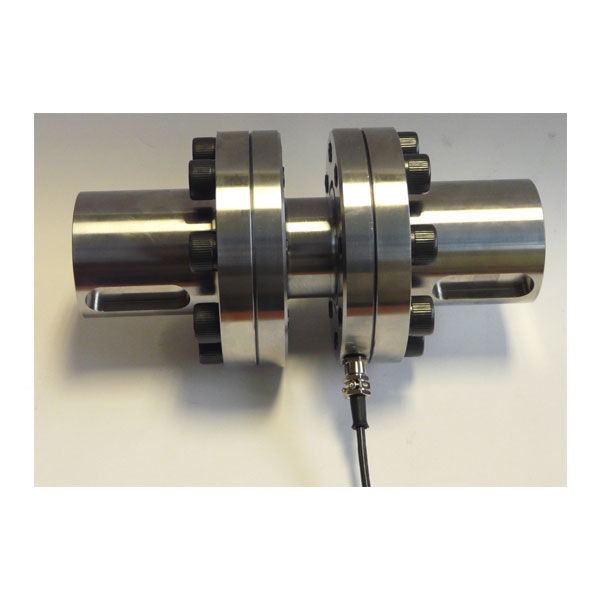
TRX series torque meter has been designed to perform torque measurements both in clockwise and anticlockwise direction with a high precision.
Main fields of application vary from the industrial one on test benches and materials test machines to the most strictly metrological sectors such as first line samples for test and calibration laboratories, research bodies etc. ..
Used also as transfer samples for evaluating the uncertainty of direct weights test benches or for comparison among the different reference National Institutes.
Manufactured in two main accuracy classes 0.05 or 0.1 according to EURAMET cg-14 norm with a yearly drift lower than 0.003%
Measurement stability is ensured even in wet and hard environments thanks to a high protection grade realized though LASER welding which guarantee the tightness.
The monolithic body, entirely made in stainless steel, guarantees a high resistance to dynamic stress which can occur in both measurement directions.
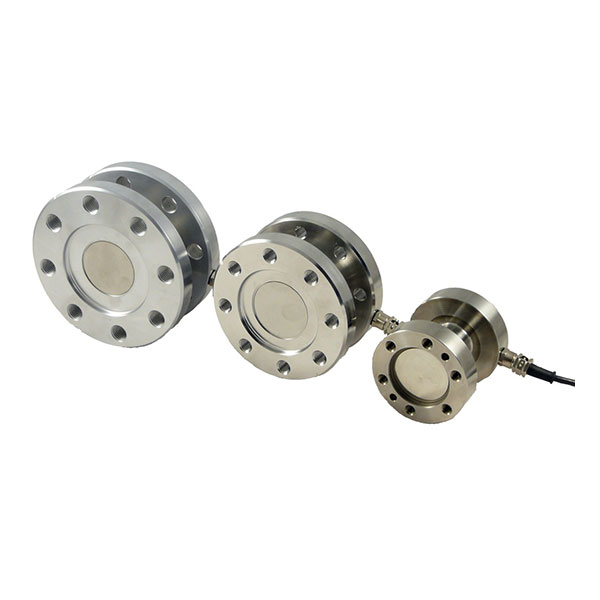
Torque meter is manufactured in 3 specific structures in order to cover a very wide range up to 5000 N•m.

High stability given by monolithic structure
High mechanical resistance
Completely made of stainless steel
Completely LASER welded
Degree of protection IP67
Long term stability

ACCESSORIES

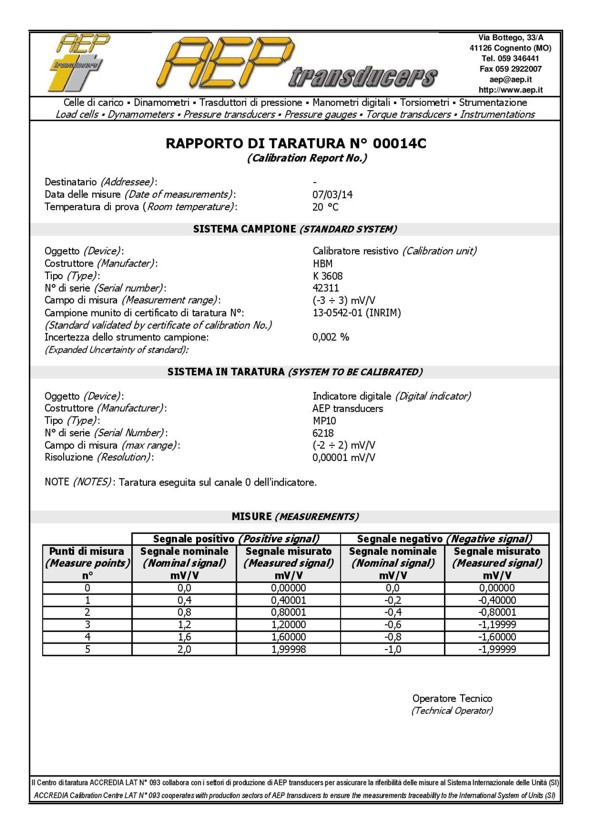
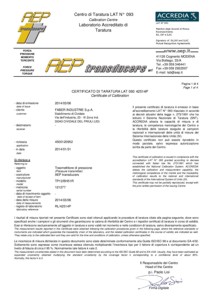
Calibration Report CLOCKWISE

Calibration Report ANTICLOCKWISE

ACCREDIA Certificate CLOCKWISE

ACCREDIA certificate ANTICLOCKWISE

Download

Data sheet TRX
Certificate CE
EAC Certificate

Download 3D

TRX 50Nm to 100Nm
TRX 200Nm to 2kNm
TRX 5kNm

You may also like…

  • TA4/2

    BUY NOW

    TA4/2

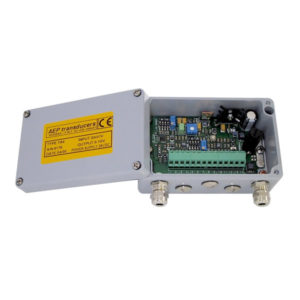
    Transmitters make easy and cheap the remote transmission of strain gauge load cells analogue signals to PLC, PC, recorders, remote indicators etc… until to a distance of 40 meters. The possibility of internally connecting the load cells in parallel (max. 4 of 350Ω or 8 of 700Ω) makes system wiring easier by avoiding the use of junction boxes. It is ideal to be used in the most advanced industrial weighing systems, processes control, dosing (silos and hoppers) and automation thanks to the two versions of its case: hermetic case made of pressure die-cast aluminium (IP65 class) or plastic case for mounting on a DIN guide (suitable for applications inside control panels)

    • Categories: Instruments
    • Tags:
  • MP10PLUS

    BUY NOW

    MP10PLUS

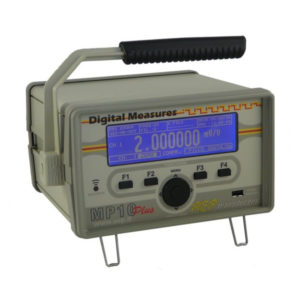
    Laboratory digital indicator is a programmable instrument for the treatment of signals from strain gauge full bridge transducers, that allows the measurement of forces, mass, pressure, torque moments and displacements. It has been designed to be used in the most modern systems of static and dynamic measurement of high precision, such as metrology laboratories, materials testing machines, test benches or test etc. … It is ideal to be used as first-line standard, if periodically certified by calibration laboratories or equivalent centers (ACCREDIA in Italy). MP10 has an accuracy of 0.0010% or 0.0020%, 24-bit internal resolution and combines a resolution (with signal ± 2 mV/V) of    ± 2.000.000 divisions in the K2 version (± 200.000 divisions in the standard version). DATA LOGGER inside

    • Categories: Instruments
    • Tags:
  • MP6PLUS

    BUY NOW

    MP6PLUS

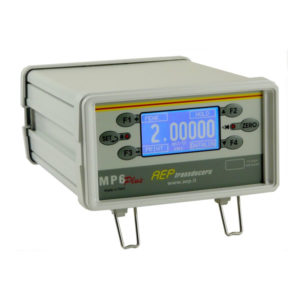
    “THE EVOLUTION OF THE SPECIES” : after more than 20 years of service in the various versions the new MP6Plus is born. MP6Plus is a Professional Digital Laboratory Indicator with 123, or 4 inputs, suitable for receiving signals from strain gauge sensors, transmitters with voltage or current output and PT100. Particularly suitable for both static and dynamic applications, for calibration and verification in metrology laboratories or industrial environments where it is necessary to make measurements of weight, force, pressure, torque, displacement and temperature in a synchronized manner. To FIT EVERY APPLICATION the instrument can be configured and customized: the function keys F1, F2, F3 and F4 can be programmed for the function of interest such as: PEAK, HOLD, RELEASE, TX DATA DATALOG, DISCHARGE, ZOOM. MP6Plus allows you to enable and disable each channel and using the ZOOM function it s possible to display only the channel of interest in full screen. The instrument works with a resolution of ±100.000 divisions and an accuracy better than 0.005% due to an internal 24-bit Sigma-Delta AD converter and a measurement control that is carried out for switching at a frequency equal to that of sampling: this system provides a better suppression of interference due to offset drift and to the connecting cables

    • Categories: Instruments
    • Tags: